mmayo
Member
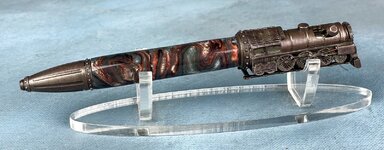
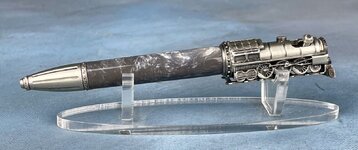
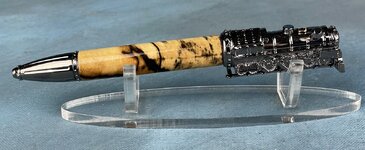
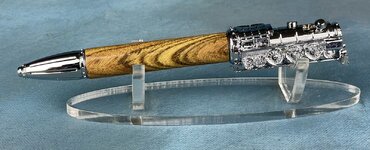
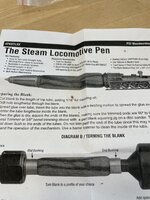
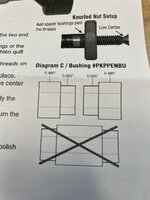
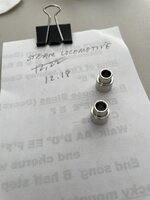
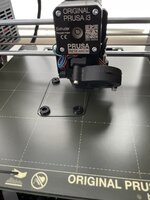
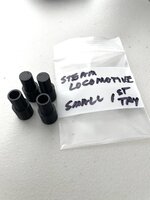
We live in Tehachapi, a city known for trains and an engineering marvel called the Loop. As such train stuff sells. I saw the PSI kits called the Steam Locomotive Pen and immediately bought a sample pack which included stock PSI bushings. I will quickly send off an order for TBC bushings from Brian Nikitas for all future turning of this kit. I also measured the outer bushing diameter in mm for my 3D printer. I copied bushings that I had already for a PSI Steampunk pen kit. It was easy to change the large diameter in both my sanding and polishing bushing sets and slice the resultant file for the 3D printer. It is printing as I write this and I'll have something close to correct in an hour. I say close because 3D printing to me is not an exact science. I need 1-3 tries to get the dimensions I like. I just take a chill pill and keep adjusting the sizes to suit. Once the proper size is achieved I can print new bushing exactly correct any time.
I turn with true TBC metal bushing to size and shape. I remove the metal TBC bushings and insert the sanding bushing to both protect the metal TBC and to avoid metal pieces or dust in my pen tubes. I sand carefully with 400, 600 grits, sand lightly with a gray 3M pad and clean with DNA. If it's an acrylic blank I switch to the buffing bushings on a dowel and buff on the Beale buffs. After CA finishing a wood blank, I flush sand on the lathe, CA glue the ends and sand using my 3D printed sanding bushings. I buff the CA finished wood blank just like the acrylic blank on the Beale Buff using the buffing bushings. It sounds like extra work, but it results in nearly flawless pens every time and it is actually quite quick.
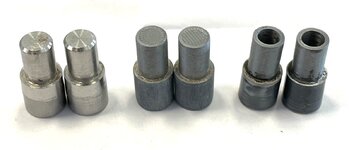
The second to last photo shows my TBC bushings from Nikitas and my sanding and buffing bushings I print for a PSI Bolt kit. I have these sets for every pen type I make and that's quite few. The last photo was try #1, close but no cigar. Try two should be perfect.
I now use Hatchbox PLA Pro filament. I've tried many, many filaments and this stuff is tough, easy to print and reasonably priced. By the way it is freezing outside with lots of fresh snow. The Prusa 3D printer has to be warmed up a bit before it will allow me to use it.
This post is NOT what I think you should do, just what I do every time.
Attachments
-
 19F1A8F8-A1DA-4A5B-9C06-0DB72C343E7B.jpeg327.7 KB · Views: 103
 -
 09F93C3F-2B47-49EF-9BA6-BFE5CE9C179D.jpeg183.2 KB · Views: 100
 -
 6688838D-CB82-4B90-8C10-A933A25C18D6.jpeg160.3 KB · Views: 86
 -
 6E7E08D8-A131-4B31-88CF-80BE09AF60DB.jpeg216.1 KB · Views: 90
 -
 0622861E-0534-4C86-B28B-5E349A2566DB.jpeg107.7 KB · Views: 111
 -
 33F28DEC-9F8D-48C6-9CDD-3D8480504FD3.jpeg171.3 KB · Views: 92
Last edited:

