The article is no longer acessable
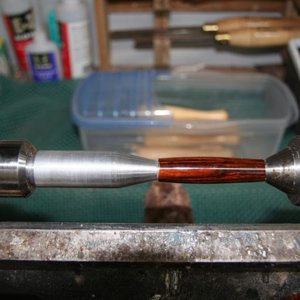
I started to make one several years ago and then realized that ANY word description would make it seem more complicated that it is. Below are three pictures that show the process. The first one is the first picture on this forum of TBC. IN fact TBC didn't have a name at that time and I referred to the first ones as "Mandrelless", i.e. "without a mandrel". Two fellows, Frank, aka Rifleman and JohnnyCNC both told me of a method they had heard of that did not use mandrels. I was having a specific problem with mandrels at that time.
I took what they said and came up with this:
Imported Photo from leehljp. Please edit title and description.
www.penturners.org
The essence of TBC in its simplest form.
I was living overseas at the time and did not have access to a drive center, so I made my own rather quickly out of aluminum rod, just to see if it would work. Of course, I stuck that homemade drive center into a chuck and it worked! ON the left side you will see a strange dead/drive center with the nose sticking directly into the blank. That drives it. ON the right side you will see a live center stuck into the other end. That is all there is to it, but options do abound.
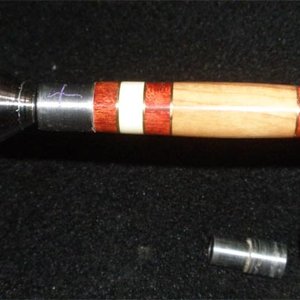
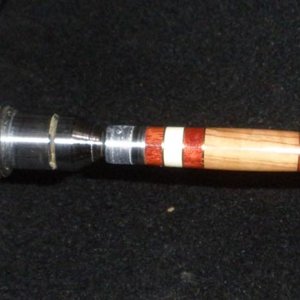
THE NEXT two pictures show a Drive center (that I ordered online from the USA) on the left, and the Live center on the right, both sticking into the bushings. Using bushings helps when SHAPING/turning to shape.
But TAKE The Bushings OFF before adding the CA or other finish. Taking the bushings OFF reduces the chances of the CA sticking to the bushings. This creates a natural step, and separating the bushings from the drive center/lived center is MUCH easier.
Mandrel bushings on TBC lathe setup
www.penturners.org
Custom Bushings on TBC setup
www.penturners.org
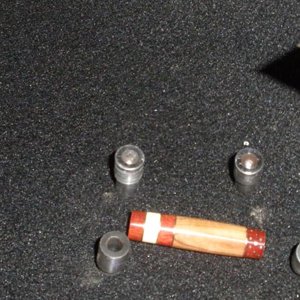
Mandrel and custom bushings can both be used on TBC
www.penturners.org
That is all there is to it. Very simple. For those who like to check their blank over and measure it a few times during the turning and finishing, it is amazing how quick it is to take off and put back on when inspecting it. WAY quicker than with mandrels and no lost nuts and spacers. Convenient! And 99% of the time, dependably more accurate.


