Lovely bowl Kevin . At what stage did you fill the cracks ?
Thanks for the kind words.
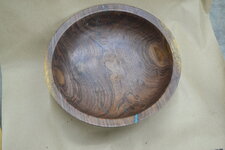
I initially started filling the cracks when it was still a rough blank. I used probably 3 small bottles of thin CA and then 1 bottle of medium to just stabilize the blank so I could start roughing it out. .
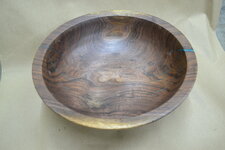
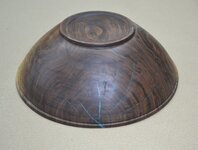
Once I have the outside about 2 or 3 passes from being done I filled all the cracks I could see. I could only do one side at a time, let it harden and then I could continue with the other side. With the temps in the 90's here this week the epoxy flowed really well.
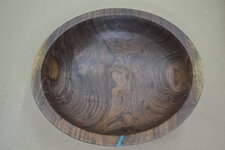
Once I started on the inside I started filling cracks that were causing the blank to vibrate or my tool to jump.
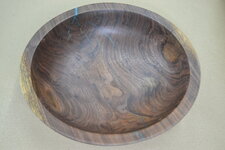
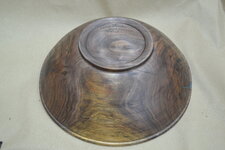
This bowl took over 8 days to complete because of the wait time for the epoxy to harden each time I filled cracks. Besides filling the cracks the blank itself was very eroding to the tool edge and I found myself having to sharpen after every 4 - 6 cuts.
I actually find the whole experience challenging trying to save a large piece such as this and knowing the grain pattern will be very worth the effort.