A couple of points I would like to make just for those that need help. I think that pretty much includes everyone since photography is an art and everyone is always developing there talent. Notice that he does not surround his subject with a tent to defuse the light. but he covers the light source with a defuser. This would be very helpful for those that do to have room for even small tents. are limited on storage space for equipment or simply do not want to have to set up a tent to take every photo. Do be careful though lights are often hot and diffuser material is usually flammable. a long as the light passes through the defuser before it gets to the subject. your mission is accomplished.
Second he mentioned the effect of focal length on an image. Focal length and it's effect is seldom if ever mentioned in this group. And for good reason. We are taking pictures of small nearly flat objects and there usually is not need to think about depth of field. This is even mentioned in the video. But seldom does not mean ever and I for one think that an understanding of both depth of field and focal length will put just a couple more paint brushes in a person bag of goodies. Basically one of those "you never know' If you understand it you may use it someday.
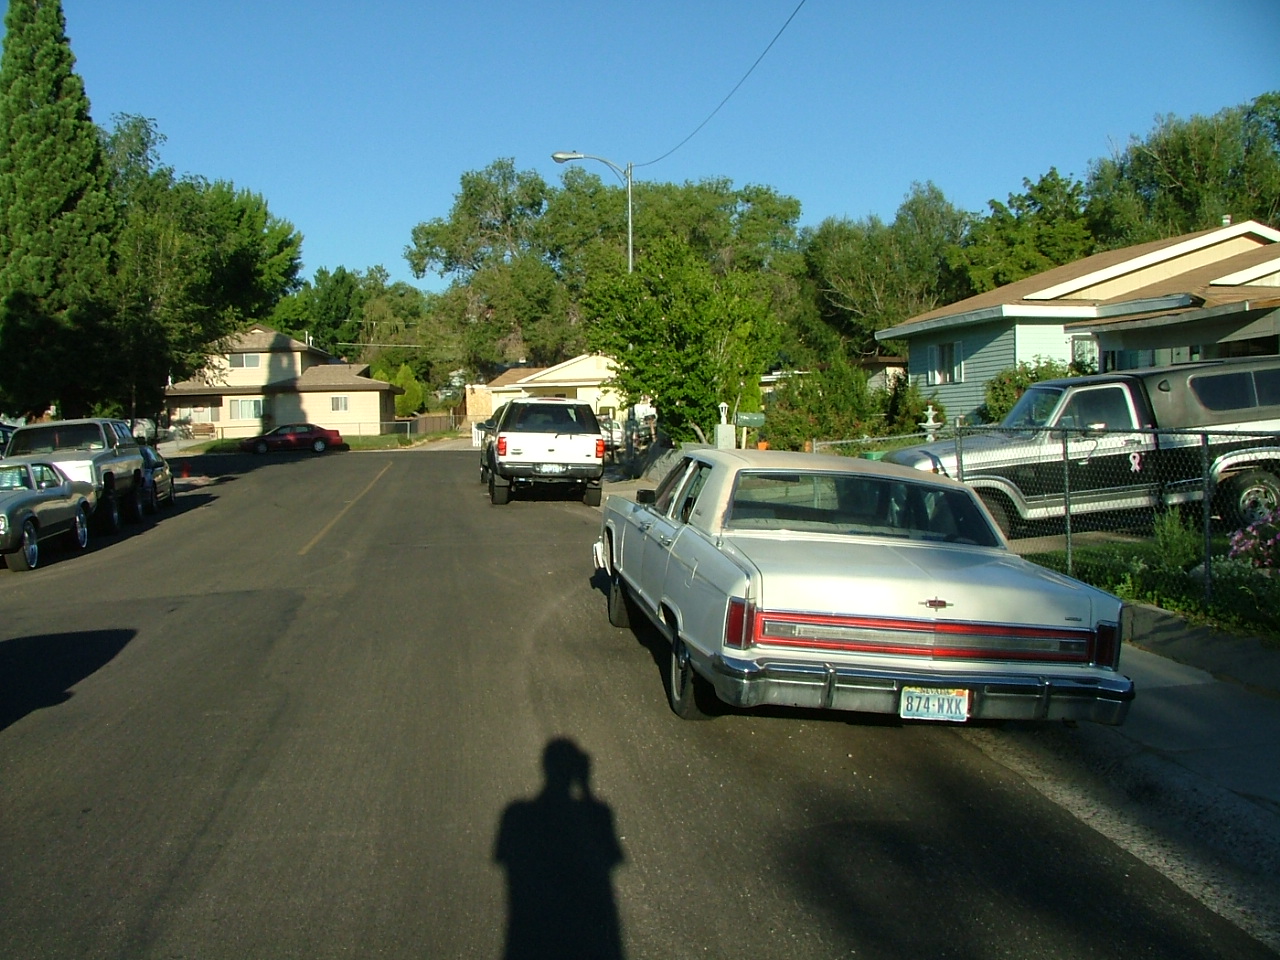
I just ran out and took a couple of photos to demonstrate the effect of focal length. They are not the best example I have ever seen but hey folks I am still in my pajamas okay.
Now since many are now saying "Focal What!!!!" Oh no not one more thing to figure out about my pictures. Lighting is bad enough. i am going to call it zooming in or zooming out. Does that help? It does have added effects that most people do not really notice. You have finally managed that vacation to Niagra falls but can't seem to get that photo of your family like the guy selling pictures gets. why not? You want to make it look like they are really really close to the falls. here is how you do it.
Okay first picture is zoomed out. notice the distance that it looks like there is between the two vehicles.
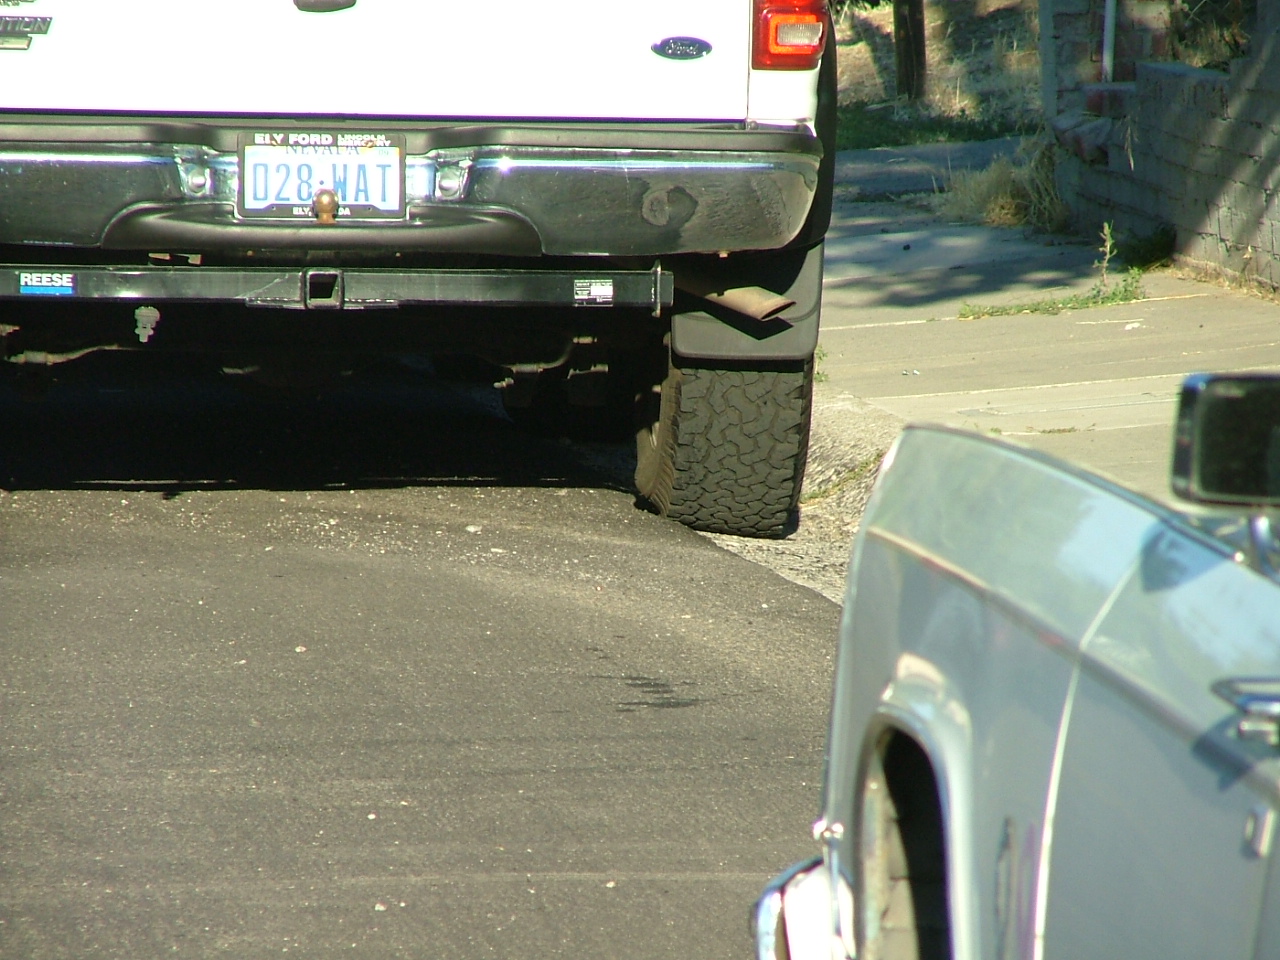
Next is the vary same vehicles parked in exactly the same spots and me standing in the same place. only this time i have zoomed in. Sorry I could not get the entire vehicle in the picture. i think it would have made the effect stand out better. but again look at how much, or little space there appears to be between the two vehicles in this picture. the only thing that changed was the focal length of the lens on my camera. or in other words I zoomed in.
Also notice my depth of field (the nearest and furthest objects in focus) has gone to hell doing this. this is a real danger when using this trick. watch for what is and is not in focus when doing this.
So, how do i see this could be used for taking pictures of pens? Well this whole floating in white thing is pretty much adding creativity to the art of taking a photo. You can also get a similar affect by placing your pen on a clear piece of glass and making it look like it is floating over anything you want it to float over. So lets say yo want to float your pen over Jello. But when you take the picture there is to much distance between the pen and the jello. the pen is flying above the jello and you want it to look like it is laying on top of it. well you monkey around with focal length until that pen lays on top of the jello. Make sure the jello and pen stay in focus. and walla pen lays on jello without a smudge or a stick finger anywhere in sight.
Okay that is my tip for today. i have wanted to share this for a long time now and finally got around to taking a few minutes to do so. Hope some of you find reason to use it at some point. Like I said it is just one more brush in your bag of paint.


