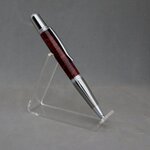
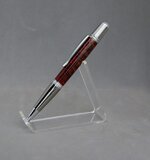
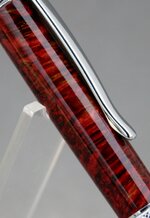
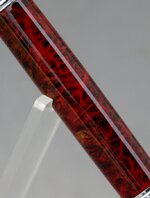
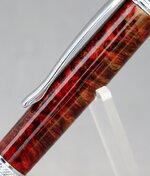
Here it is all done! The results of it turned were a bit different than I expected. I had great color penetration, but around some of the eyes it didn't go all the way through and instead turned it more of a rusty brown color. I know not to expect every single bit of the wood to take in the same amount of dye, but when I cut a cross section of the same blank I didn't see the variation. Not exactly sad about the results. I think it looks awesome! Kinda like a rich two tone amboyna actually. It's just like any blank we turn...you never know what's on the inside till you turn it!
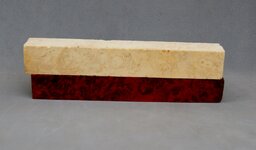
So here's what I started with. A before and after stabilizing shot.
Thanks for looking!
Yes, I agree, the dying turned out magnificent...!
Is the depth of that brilliant finish of yours that shows the transitions of the colour variations, so well, no other finish is able to do that, period...!
Some people will ask, why...???, well, the explanation is simple, is the clear thick coating that works as a magnifying glass, the light penetrates through it and reflects on the wood surface, making it stand up, is a very special way...!
I don't know if these were stabilized and dyed at the same time or not but, in relation to your comment about the lack of penetration on the burl eyes, that is quite common due to wood oils, density and or other chemical properties of those areas. That was exactly why I decided to stabilize and dye the Amboyna burl sapwood, on some blanks a few months ago. The stabilizing was only to take care of the hardness desired on that burl wood (a little softer) but the Alumilite dye performed exactly as expected, with also similar results. The red you used helped considerably with the vividness of the colours affects, the sharpness seen is the result of that, not all colours provided that sharpness, while sharpness and contrast, are a very different thing.
Not all burl woods perform the same way when dyed so, there are some unknown factors that, only experimentation will provide, I particularly love what you did with the blank, congrats...!
PS: I don't think that, the inventors of the kit you used, had the best idea of creating the bushing the size (diameter) they did, far too thin at the ends, in my view, and one reason why I ignore the bushing sizes and make mine to have a much flawless transition from metal to wood/acrylic, with a small "belly" to follow the flow of the metal ends, that is to me, the only negative aspect of those type kits.
This has nothing to do with the dying work you done on that blank, its simply MY OPINION on showing the blank work on that kit, following the manufacturer barrel ends diameter, spoiling a perfect job on the blank...!
I hope you can do more, like this one...!:wink::biggrin:
Cheers
George
