Phunky_2003
Member
Recently I purchased a blank from Creative Dimensions, which is a dual coolaboration between two members here on IAP, Charlie (NewLondon88) and Alton (GreenMtnGuy). I purchased my blank from www.exoticblanks.com. After completing that blank I was given the opportunity to do another one and write a review on it, here is that review.
Here is what I started with: Renaissance Blank
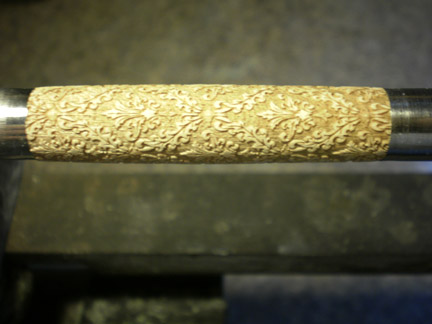
I decided I wanted something to bring out the details of the blank so I figured a black paint was a place to start.
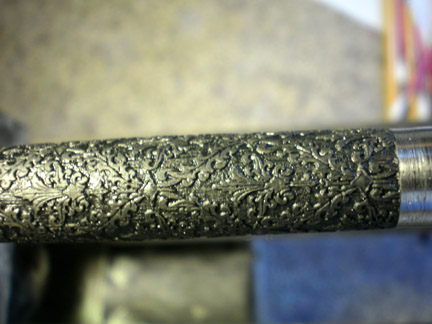
I brushed this on and then wiped away most of it and let it dry for about an hour.
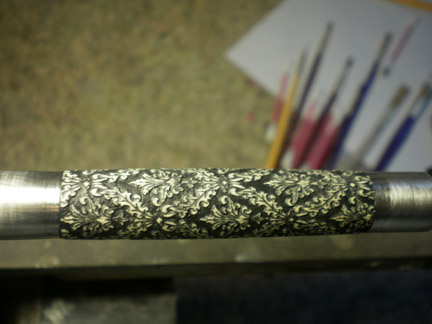
After letting dry, I lightly sanded back to the wood on the raised parts of the blank. Here is where I thouroughly checked the detailed part of the blank to make sure I was happy with the painting.
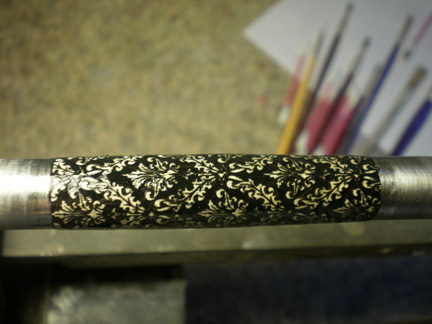
Then I applied CA to the entire blank. I believe it was 3 coats of Med CA until the blank was smooth and all the low spots were filled in.
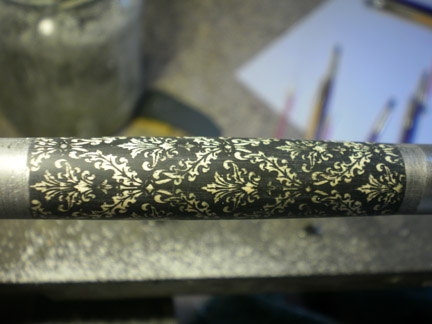
Next I sanded the blank back down again to show the wood on the raised areas. I thought the blank was good before, but I wanted to show how I would go about adding another color. It was a way that was mentioned in one of the other threads so I figured it was what I would try to see how it worked.
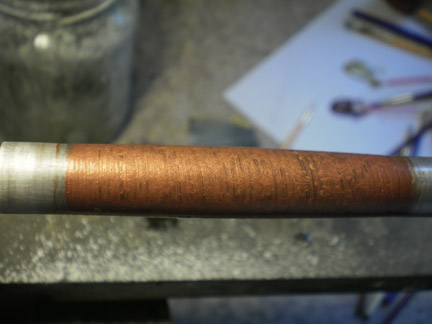
I applied a copper color and repainted the entire blank. I let this dry for about 30 minutes or so. I then used warm water to clean the excess paint off.
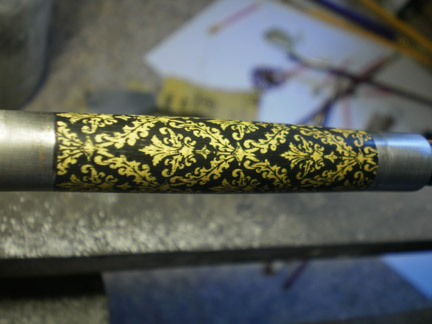
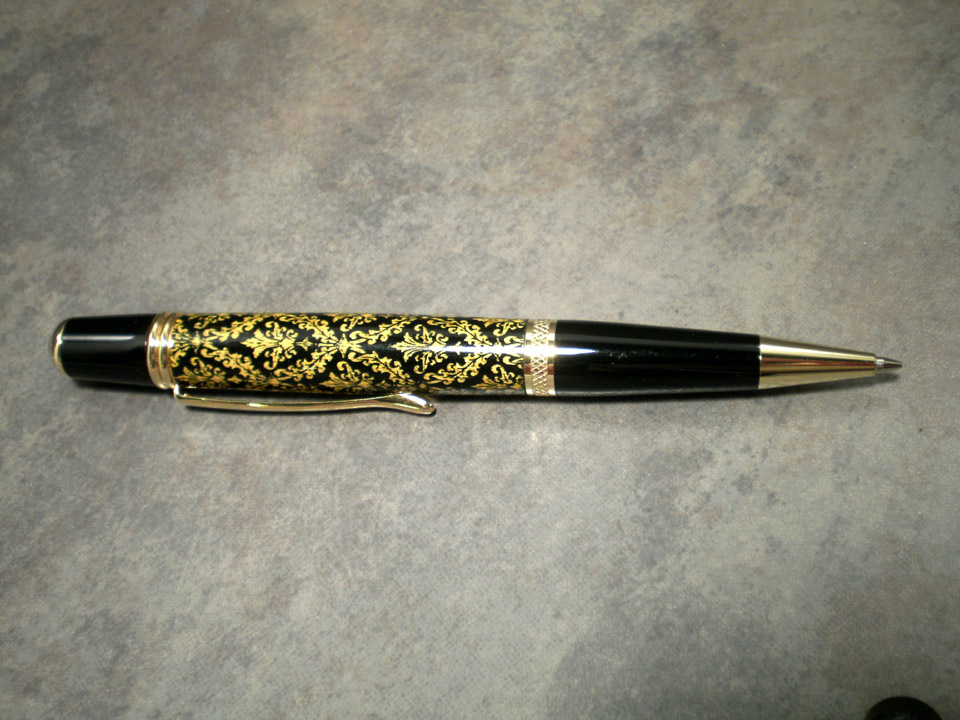
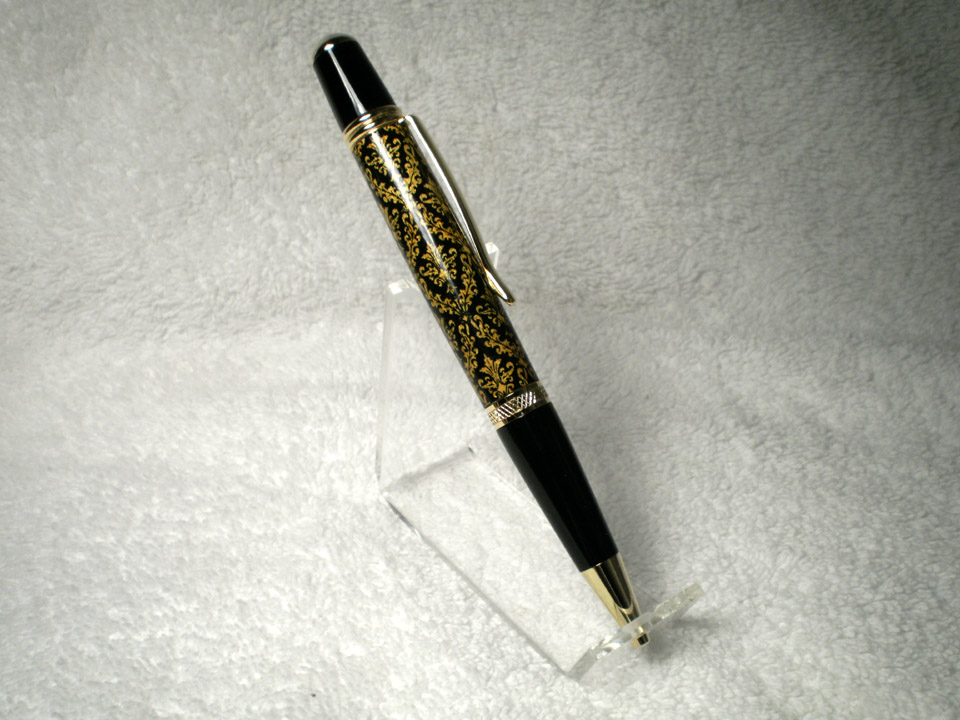
The copper color turned more of a yellowish/gold color but overall I was happy with the results. I finished the pen by adding 6 coats of thin CA. Then MM to 12000 and plastic polished.
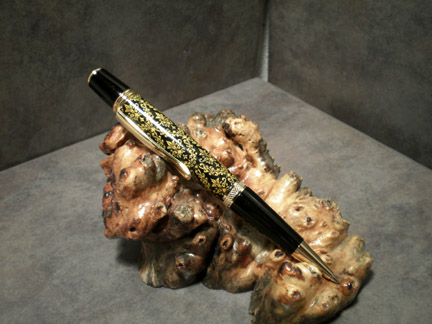
Heres the finished pen and a final thought.
I think these blanks open the door for many possibilites and different techniqes to be applied. I will be doing more in the future and attempting different techniques. I believe Charlie and Alton have came up with quite a unique blank that is only limited by your imagination. I would definately purchase and deal with Charlie and Alton again.
Here is what I started with: Renaissance Blank

I decided I wanted something to bring out the details of the blank so I figured a black paint was a place to start.

I brushed this on and then wiped away most of it and let it dry for about an hour.

After letting dry, I lightly sanded back to the wood on the raised parts of the blank. Here is where I thouroughly checked the detailed part of the blank to make sure I was happy with the painting.

Then I applied CA to the entire blank. I believe it was 3 coats of Med CA until the blank was smooth and all the low spots were filled in.

Next I sanded the blank back down again to show the wood on the raised areas. I thought the blank was good before, but I wanted to show how I would go about adding another color. It was a way that was mentioned in one of the other threads so I figured it was what I would try to see how it worked.

I applied a copper color and repainted the entire blank. I let this dry for about 30 minutes or so. I then used warm water to clean the excess paint off.

The copper color turned more of a yellowish/gold color but overall I was happy with the results. I finished the pen by adding 6 coats of thin CA. Then MM to 12000 and plastic polished.

Heres the finished pen and a final thought.
I think these blanks open the door for many possibilites and different techniqes to be applied. I will be doing more in the future and attempting different techniques. I believe Charlie and Alton have came up with quite a unique blank that is only limited by your imagination. I would definately purchase and deal with Charlie and Alton again.
Last edited:

