KDM
Member
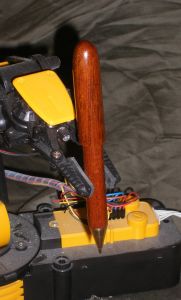
This is another step closer to a kit-free pen. Mahogany again (whatever, I like it and I have loads of it). It's another twister, based on a slimline transmission. The top twists to reveal the dangerous end. The interesting bit about this pen is that rather than having a decorative band seperating the two halves, I've shoved the bottom part up inside the top part.


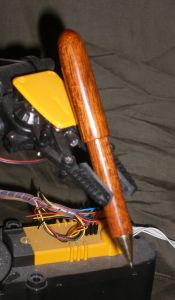
The second photo shows off the CA finish a bit better. I found a new CA glue which is a bit more like a gel and it seems to be great as a filler, but I'm still finishing with a couple of coats of my runny fast CA glue.
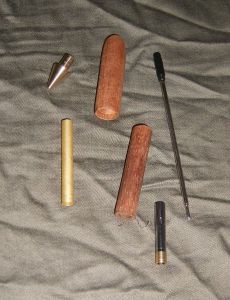
The trasnmission, ink cart and pen tube are the only "kit" parts. The nib end, I turned myself out of a brass bar. I find the slimline nib ends are just too long.

Next time, I'm going to try to make thebottom part go all teh way down to the point, with just a tiny brass tube 2mm internal dia to guide the writing end. The idea is to reduce the number of visible non-wood components.
Do you like my robot pen-holder? Now, I'm off to read that tutorial on photographing pens, because my photos are woeful!


The second photo shows off the CA finish a bit better. I found a new CA glue which is a bit more like a gel and it seems to be great as a filler, but I'm still finishing with a couple of coats of my runny fast CA glue.
The trasnmission, ink cart and pen tube are the only "kit" parts. The nib end, I turned myself out of a brass bar. I find the slimline nib ends are just too long.

Next time, I'm going to try to make thebottom part go all teh way down to the point, with just a tiny brass tube 2mm internal dia to guide the writing end. The idea is to reduce the number of visible non-wood components.
Do you like my robot pen-holder? Now, I'm off to read that tutorial on photographing pens, because my photos are woeful!
