alphageek
Former Moderator
OK... Lots of pictures, some text.. Hopefully this will help.
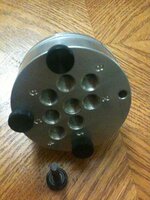
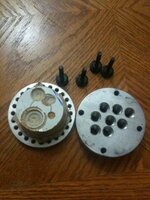
My Setup... Mini lathe, Ruth Niles stopper Mandrel, Deluxe Backer plate.
See Thumbnails for closeups...
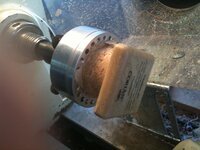
Picture 1 - backer plate on mandrel, sacrificial wood double stick taped to the plate.
Picture 2 - Material double stuck to the wood block. (in this case corian)... I suggest you have turned the wood block round and smaller than the pendant size desired.
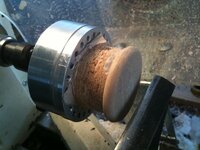
Picture 3 - Tail stock brought up to support material during rounding (optional, but makes it more stable for me) .... Lathe set fairly fast.
Picture 4 - Rounded off, thinned out to desired thickness.. Note rounded both front and back, which is why the smaller wood block rounded.
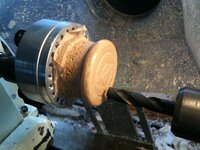
Picture 5 - After decorative cuts made, moved to offset whole and drill brought up to drill starter hole. ... Lathe set much slower for this and next steps.
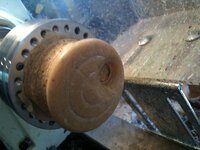
Picture 6 - whole rounded out and smoothed as desired.
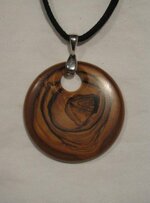
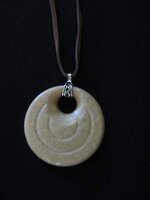
Picture 7 - Final product
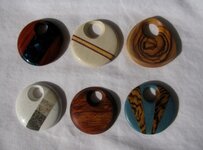
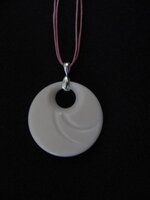
Picture 8 - This is the next one I made and the reason for the 'deluxe' model over the basic. After all the above steps were done, rotate the front part of the plate to different positions and make other 'offset' cuts. The deluxe model is what will allow MUCH more variation in patterns.
This is a great little addon... The ways of mounting this are varied, but the tools works GREAT. I'm quickly getting the knack of this offset turning and looking forward to trying other things with it.
One last comment... As you are playing, I suggest WRITING down the settings you used. As you find variations you like, you'll want to remember how you did it!
Attachments
-
 IMG_0058.jpg48.6 KB · Views: 1,572
 -
 IMG_0059.jpg54.4 KB · Views: 1,324
 -
 IMG_0060.jpg47.8 KB · Views: 1,290
 -
 IMG_0061.jpg52.9 KB · Views: 1,291
 -
 IMG_0063.jpg65.4 KB · Views: 1,409
 -
 IMG_0066.jpg51.6 KB · Views: 1,428
 -
 a.jpg21.3 KB · Views: 1,308
 -
 6576_149120603568_771828568_3096313_2027_n.jpg14.7 KB · Views: 1,288

