massmans
Member
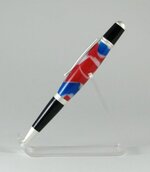
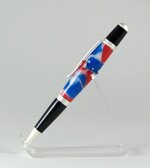
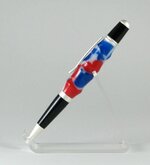
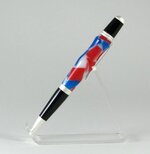
This was my first try at trying to get a stained glass or chips look. These were tinted with testors and macropearl pearlex.
simple directions
1. Cast solid color blanks.
I cast the red and blue in separate batches and let cure. I did put them under 60# pressure.
2. Once cured, use chisel to break into small chunks.
Using a normal wood chisel, i chipped off small sections. Any large chunks were then chipped to smaller. Beware that pieces fly all over the place. I had to hold my hand around the chisel and around the blank, then hit with mallet from other hand, to stop it from flying all over the place. I tried to put it in a flat rate cardboard envelope and hammer on it. It punctured the envelope way too fast to be effective. If anyone has any ideas on how to chip it up and not get it all over, please let me know.
3. Place pieces in pleasing arrangement and pour in the base color.
I used my Gadget mold and placed the red and blue chips in a alternating pattern and tried to leave some space for the white color to fill in. Mixed up white pr and then poured slowly to let it fill all the voids. I kept lightly bumping the mold to get any air pockets to come to the top and then poured more to fill blank mold.
4. Pull vacuum to make sure no voids.
I pulled around 25 for twenty minutes. I love having a vacuum pump, which I use for vacuum chucking also.
5. After vacuum, put under pressure.
I put in the 60# pressure for around 6 hours. It is easy to forget when you are doing other things. 6 hours is my normal time just to make sure it is just and setup.
6. cut, drill, and turn for appropriate pen or item.
I wet sanded up to 1000 grit, and then used Hut's plastic polish.
Let me know if these directions arent clear, or you want more info.


