KDM
Member
Well, I really like the look of some of the castings which are for sale. I very nearly bought one or two to try. I drew lots of inspiration from Anthony Turchetta's brilliant HowTo article. There are loads of articles on PR casting, but this is the one which made me least frightened!!
I remembered seeing a big bottle of polyester resin at the back of a friend's garage, which had been unused for some years. I decided to make a mold (or mould - I find they're equally used). I based it on Serge "Darley" Delagnes' excellent HowTo guide on the subject. In order to make the mould, I needed to make a mould for the mould! I call them the mould positive and the mould negative. The positive being the timber in which the silicone is cast and the negative being the silicone in which the PR will be cast.
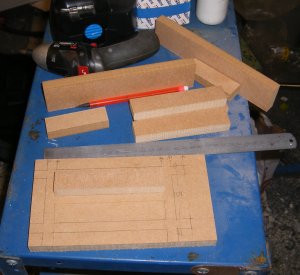
I made mine from a plank of 15mm MDF I had lying around. Here are the parts of the positive ready to assemble:
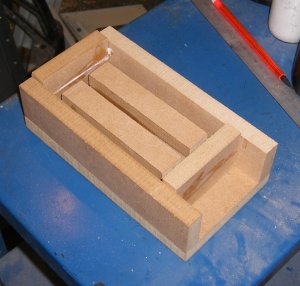
The assembled positive. Don't worry, I didn't glue it together. It's screwed. The glue line you see is two pieces of MDF because I accidentally cut it too narrow:
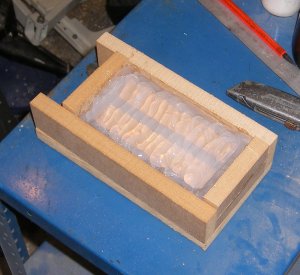
Scooshed it full of bathroom sealant:
And a few days later, here's the completed negative:
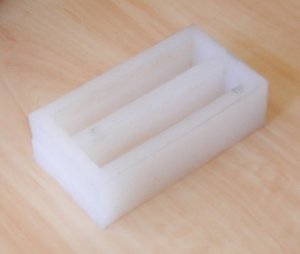
The walls are about 5mm thick, which is a little excessive, but it will certainly stand the test of time. Also, I neglected to cover the wood with clingfilm. That's OKay, it wasn't difficult to separate it, but you can see the saw tooth marks in the mould. I'm sure the clingfilm would have smoothed this a bit. Doesn't really matter - the blanks will go straight on the lathe anyway!
Polyester resin, hardner, pigments are all available from these guys who are just 15 minutes away from where I work. I've never seen such an Alladin's cave of casting materials and the staff are really helpful! This may be my new favourite shop, overtaking my local DIY shop and my local electronics shop. (I would recommend them to any UK penmakers, particularly if you're in Northern Ireland. They have a reasonable eBay presence, too.)
Nothing prepared me for the heat as the PR cured. My first batch produced visible fumes. This may have been because the silicon wasn't fully cured at that time! I was also massively impressed with how quickly the PR hardened. One could make a cast and be turning it inside an hour.
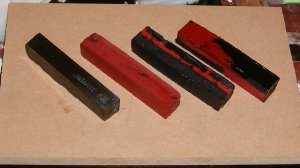
Here's a YouTube video of one of my first blanks. Here are some photos of others. Before turning:
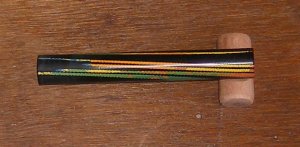
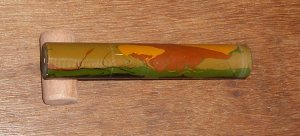
...and after turning and a little bit of mild sanding:
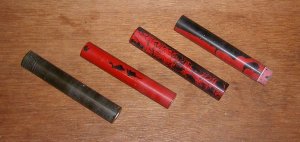
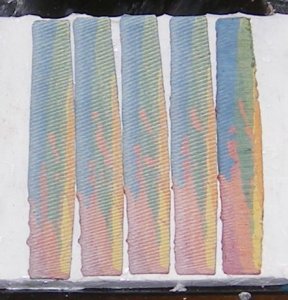
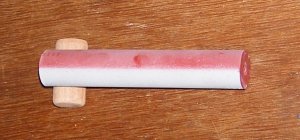
The leftmost one (in both photos) is the colour of the raw PR with no pigment added. In the tin, it's a lovely purple colour, but it goes green when it cures. I dunno what type it is. My next experiments will be more controlled because I'll know what I bought!!
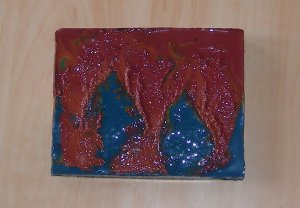
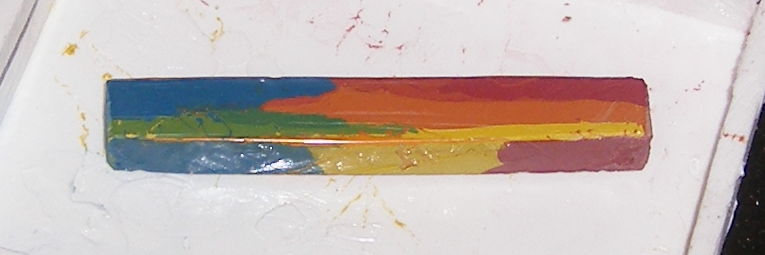
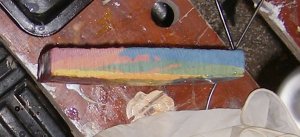
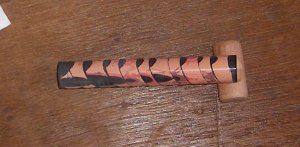
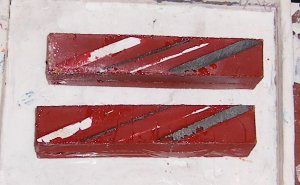
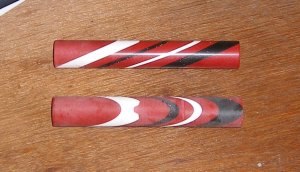
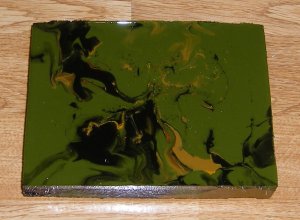
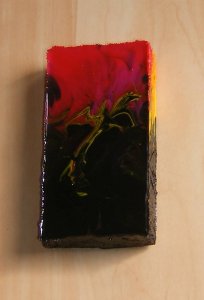
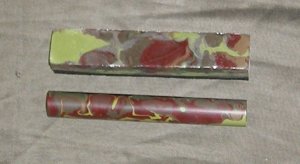
Here are a few more. I tried colouring the PR with enamel paint. It seems to have worked, but the cure time is longer. Black and red were the only proper PR pigments I had and, as you can see from the photo below, all the black pigmented resin fell to the bottom of the mould. Dunno why that happened, but I've got the proper pigment now so, again, more controlled next time. This is a nice before and after photo:
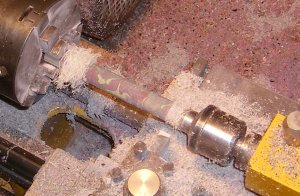
Because I use a metal turning lathe, I had to grind a special tool for turning the PR. I believe the result is now generating the requisite "ribbons":
Here's the discussion that led me to creating a skew-like tool (Photos to follow.)
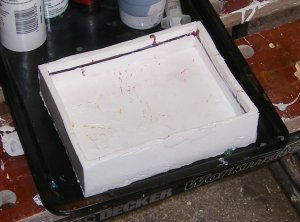
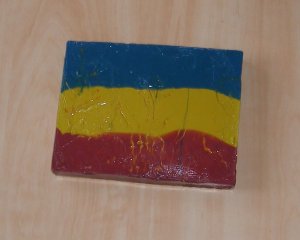
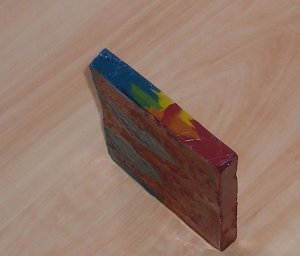
Now, I'm moving on from that first mould to a bigger one. I fancy making a big sheet of cast polyester resin which I can just slice up on the bandsaw. I reckon this is a big enough positive to make a mould which should yield 7 good blanks:
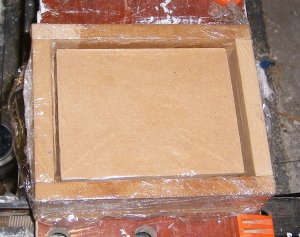
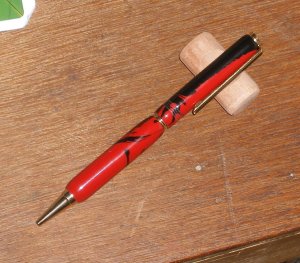
Ooooh. I haven't actually made any pens yet out of all these blanks. But making the blanks is sooooo much fun!!
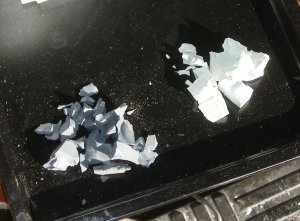
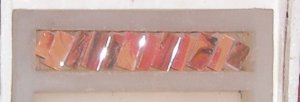
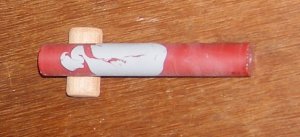
Speaking of fun, here are a couple of plain PR blanks. The plan is to smash them up then set the bits in another colour of PR (probably black) just to see what'll happen...
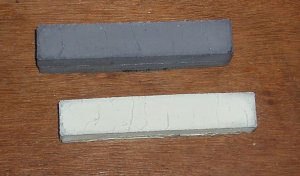
I remembered seeing a big bottle of polyester resin at the back of a friend's garage, which had been unused for some years. I decided to make a mold (or mould - I find they're equally used). I based it on Serge "Darley" Delagnes' excellent HowTo guide on the subject. In order to make the mould, I needed to make a mould for the mould! I call them the mould positive and the mould negative. The positive being the timber in which the silicone is cast and the negative being the silicone in which the PR will be cast.
I made mine from a plank of 15mm MDF I had lying around. Here are the parts of the positive ready to assemble:

The assembled positive. Don't worry, I didn't glue it together. It's screwed. The glue line you see is two pieces of MDF because I accidentally cut it too narrow:

Scooshed it full of bathroom sealant:

And a few days later, here's the completed negative:

The walls are about 5mm thick, which is a little excessive, but it will certainly stand the test of time. Also, I neglected to cover the wood with clingfilm. That's OKay, it wasn't difficult to separate it, but you can see the saw tooth marks in the mould. I'm sure the clingfilm would have smoothed this a bit. Doesn't really matter - the blanks will go straight on the lathe anyway!
Polyester resin, hardner, pigments are all available from these guys who are just 15 minutes away from where I work. I've never seen such an Alladin's cave of casting materials and the staff are really helpful! This may be my new favourite shop, overtaking my local DIY shop and my local electronics shop. (I would recommend them to any UK penmakers, particularly if you're in Northern Ireland. They have a reasonable eBay presence, too.)
Nothing prepared me for the heat as the PR cured. My first batch produced visible fumes. This may have been because the silicon wasn't fully cured at that time! I was also massively impressed with how quickly the PR hardened. One could make a cast and be turning it inside an hour.
Here's a YouTube video of one of my first blanks. Here are some photos of others. Before turning:

...and after turning and a little bit of mild sanding:

The leftmost one (in both photos) is the colour of the raw PR with no pigment added. In the tin, it's a lovely purple colour, but it goes green when it cures. I dunno what type it is. My next experiments will be more controlled because I'll know what I bought!!
Here are a few more. I tried colouring the PR with enamel paint. It seems to have worked, but the cure time is longer. Black and red were the only proper PR pigments I had and, as you can see from the photo below, all the black pigmented resin fell to the bottom of the mould. Dunno why that happened, but I've got the proper pigment now so, again, more controlled next time. This is a nice before and after photo:

Because I use a metal turning lathe, I had to grind a special tool for turning the PR. I believe the result is now generating the requisite "ribbons":

Here's the discussion that led me to creating a skew-like tool (Photos to follow.)
Now, I'm moving on from that first mould to a bigger one. I fancy making a big sheet of cast polyester resin which I can just slice up on the bandsaw. I reckon this is a big enough positive to make a mould which should yield 7 good blanks:

Ooooh. I haven't actually made any pens yet out of all these blanks. But making the blanks is sooooo much fun!!
Speaking of fun, here are a couple of plain PR blanks. The plan is to smash them up then set the bits in another colour of PR (probably black) just to see what'll happen...

Last edited:

